WordPress is one of the most popular CMS (Content Management System) in the world. You can install it easily and in full autonomy, following a few simple steps.
If you buy our WordPress optimized hosting you can install your WordPress ina few clicks straightly form your cPanel control panel.
Otherwise, if you prefer to install it manually you need to download a zipped copy of this CMS straightly from WordPress.org. As the download is completed, unzip the folder in your PC, creating a brand new folder named wordpress_it_IT_3_5_1, which includes all the files you need.
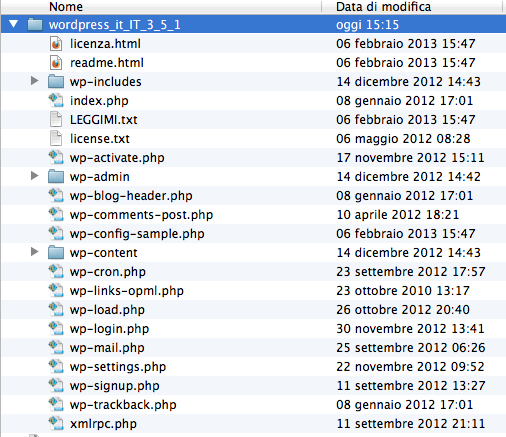
The full WordPress folder shall include wp-includes, wp-admin, wp-content folders and several files with PHP, HTML, .TXT extensions (as in the image below).
The second step is the FTP Upload, in which you will upload WordPress files in your hosting, making them available. To process this operation you have to use a dedicated FTP client (such as FileZilla, for example) which allows you to manage all files in your hosting as in a regular local filesystem.
Select the folder where you want to upload the files to make the website work correctly. The folder should be the root or a website-dedicated sub-folder. We remind you that the websites' root can be identified with the www folder or public_html folder or httpdocs: they all point to the same location and can be considered alias.
The process to identify your root depends on the amount of websites in your hosting.
If you have just one website in your hosting, you can access to your web space's file system in the /httpdocs, /www or /public_html folders. You will have to:
- Select all files included in wordpress_it_IT_3_5_1 folder
- Select the hosting's root (remotely)
- Click on the selection
- Click on "Upload"
- Move all php txt html files in the www folder (or public_html or httpdocs)
If you have multiple websites in your hosting (such as for example multidomain hosting or addon domains), you can access your web space's file system in /httpdocs/websitename or /WWW/websitename or /public_html/websitename. You will have to:
- Select all files included in wordpress_it_IT_3_5_1 folder
- Select the hosting's root
- Click on the selection
- Click on "Upload"
- Wait for the upload process to be completed
- After the operation is completed, type your website's name in the browser you're currently using

The last step to install WordPress is to create a database. You can create a MySQL database straightly from your hosting's cPanel control panel, clicking on "Database MySQL", in the "Database" section.
Type a database name, a username and a password (that must be different from the ones you're using to log-in to WordPress admin area).
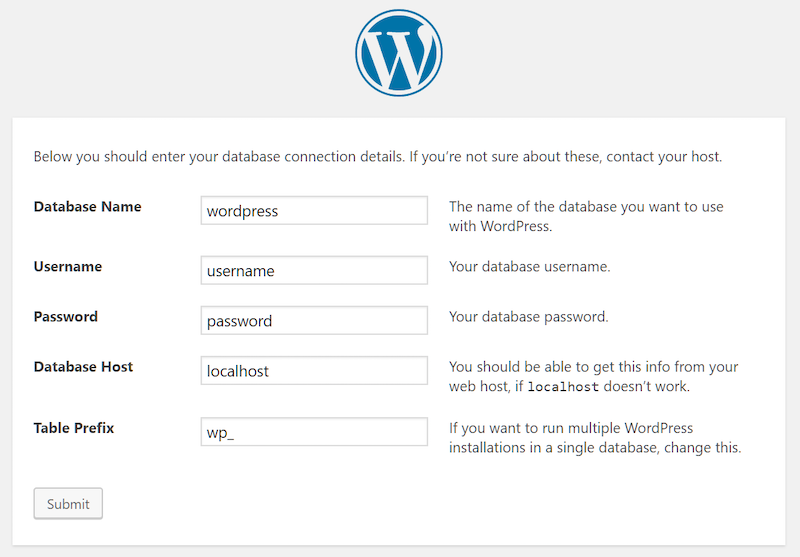
At the end of the operation, check the summary including database name, admin's name, admin's password and host address (usually localhost).
In the installation page, click on "Start" and type all the required data (database name, username, password, host address) and the database's prefix (you can leave wp_ or type a prefix you prefer).
In the end, click on "Send" and then on "Install WordPress" to start.
Keliweb provides all the users in need to create their first WordPress website with a WordPress optimized hosting plan, which includes a free SSL certificate, to manage all the activities of their project, online, easily and in full autonomy.
To learn more visit our website or contact our team via email, chat or ticket system.