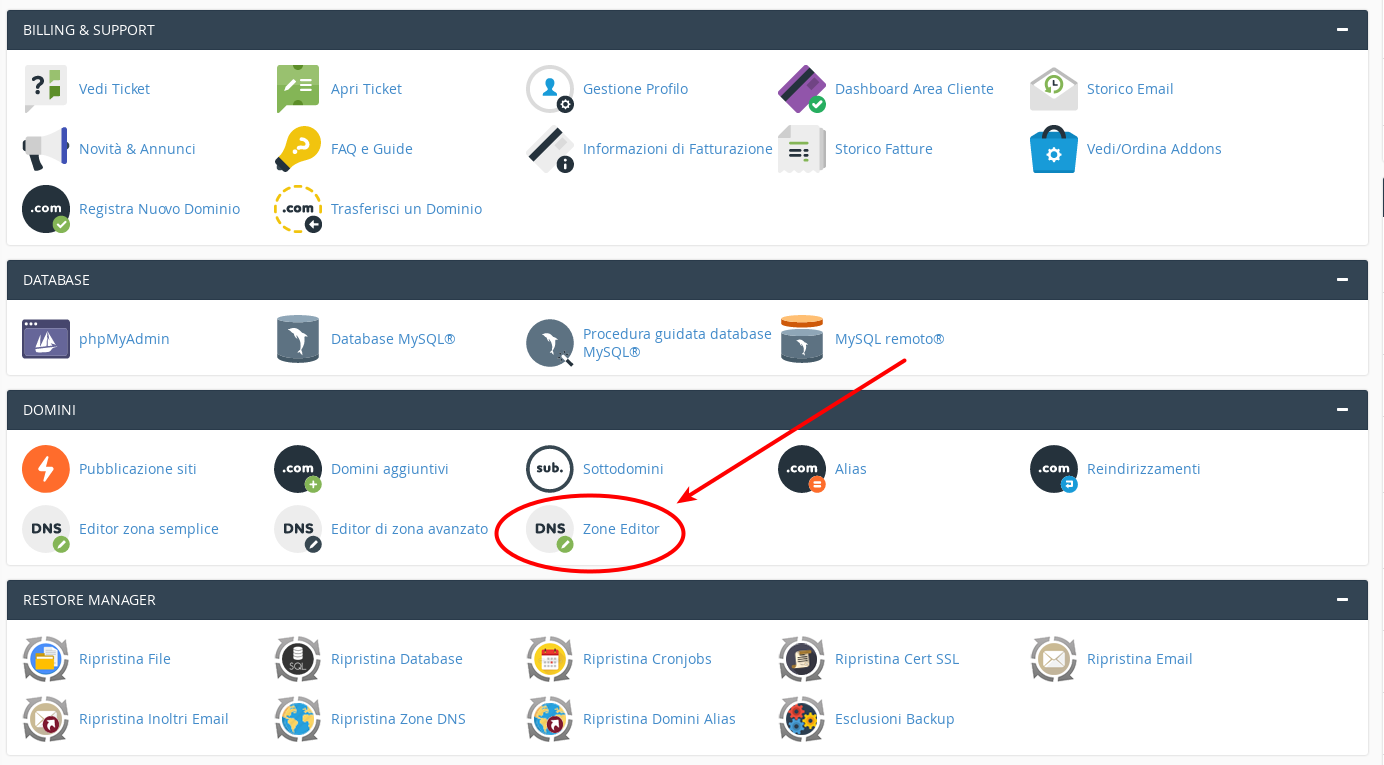
If you need to configure or modify the DNS Zones in your cPanel control panel, you have to follow a few steps. First of all, log-in to your cPanel using your username and password, and go to the "Domains" section.

Here, click on "Zone Editor" and wait for the page to be loaded. Now, select the domain you want to operate on and choose to add a Record A or a Record CNAME.
Records A are used to associate a domain name to the IP address of the server where the domain is hosted. For example, if you choose to use this solution, you need to enter:
- Your domain name
- The IP address provided by your provider
Then click "Add Record A", to add the record to the list and wait a few minutes for it to be activated.
Records CNAME are used to connect a DNS with another DNS, creating one or several aliases. For example, if you choose to use this option you need to enter:
- Your domain name
- CNAME
Then click "Add record CNAME" to add the record to the list and wait a few minutes for it to be activated.
To learn more about DNS, check our FAQ "What are DNS?"


