
WordPress is currently the most used CMS for blogs website. This CMS Allows to publish articles, complete with pictures, videos, or other media quickly and easily. Thanks to the plugins on your network you can customize and add new features suitable for almost all types of websites. Written in PHP using MySQL or MS SQL Server.


Here you will find all steps to configure your Wordpress website to use the CDN network.
PS: Before you make any changes we raccomend to you to make a full backup of your website.
Download W3 Total Cache from this link: https://wordpress.org/plugins/w3-total-cache/
Once W3 Total Cache is installed and activated, browse to the plugin's page and click on CDN
";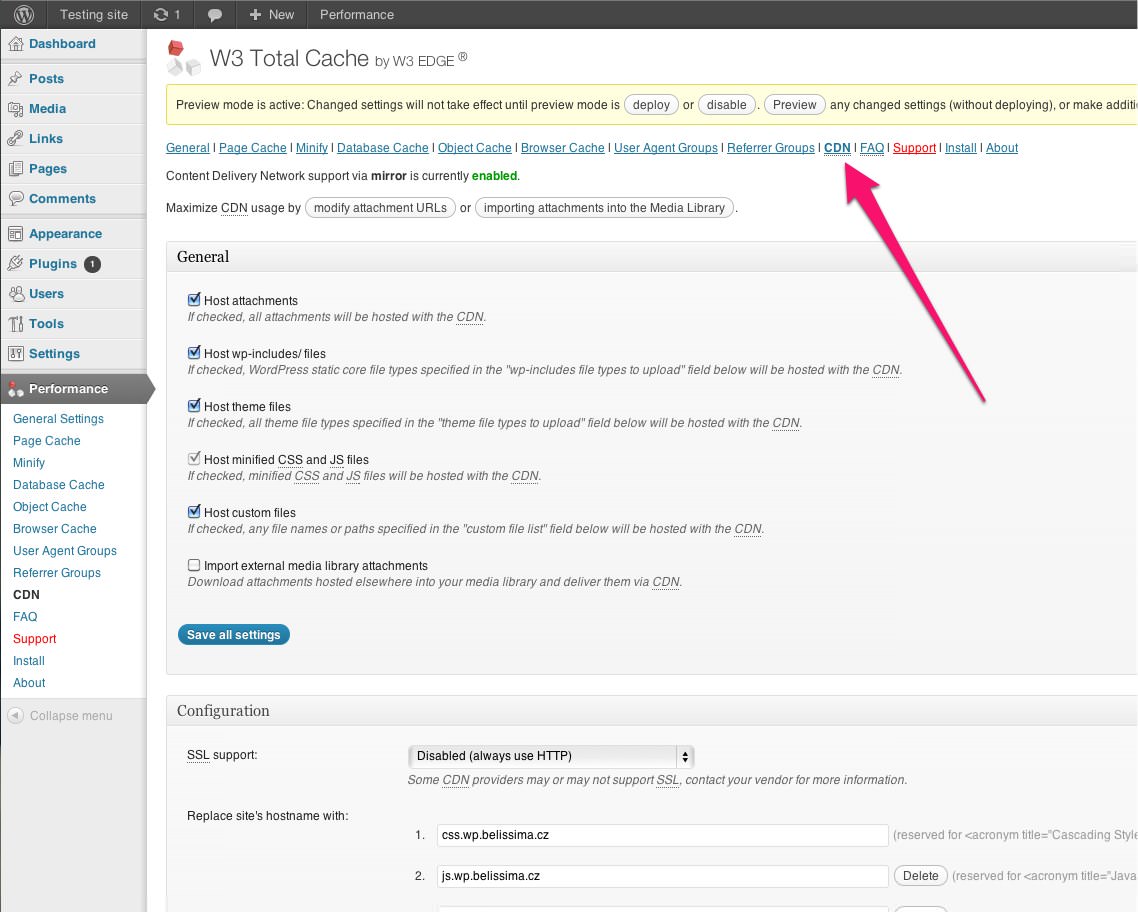
Locate the Configuration box as displayed below and set the CDN record that you see in the activation email as well as in you Client Area, then click on Save all Settings.

Click on General
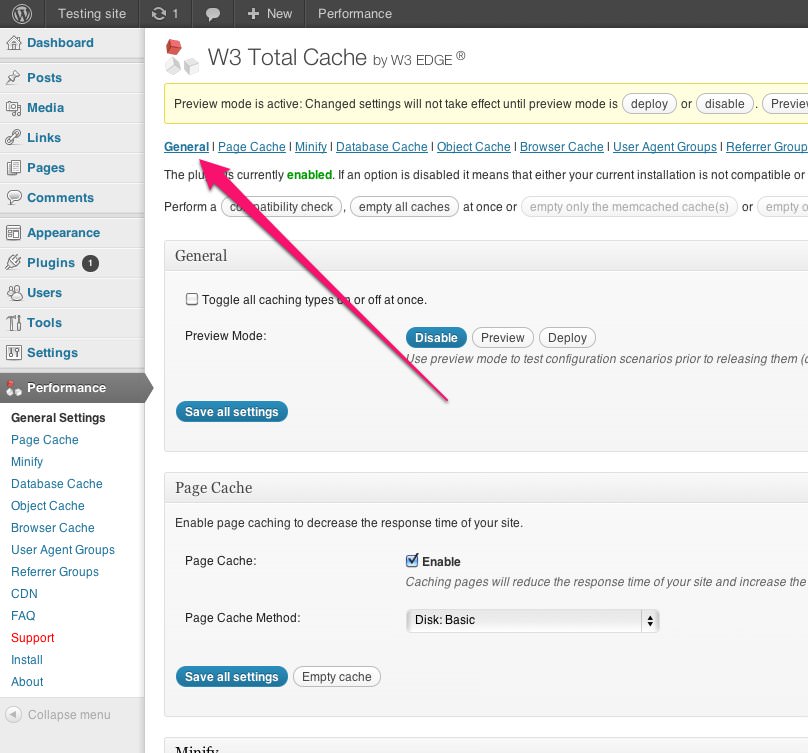
Locate the CDN section and mark Enable, then select Generic Mirror. Now click on Save all settings.

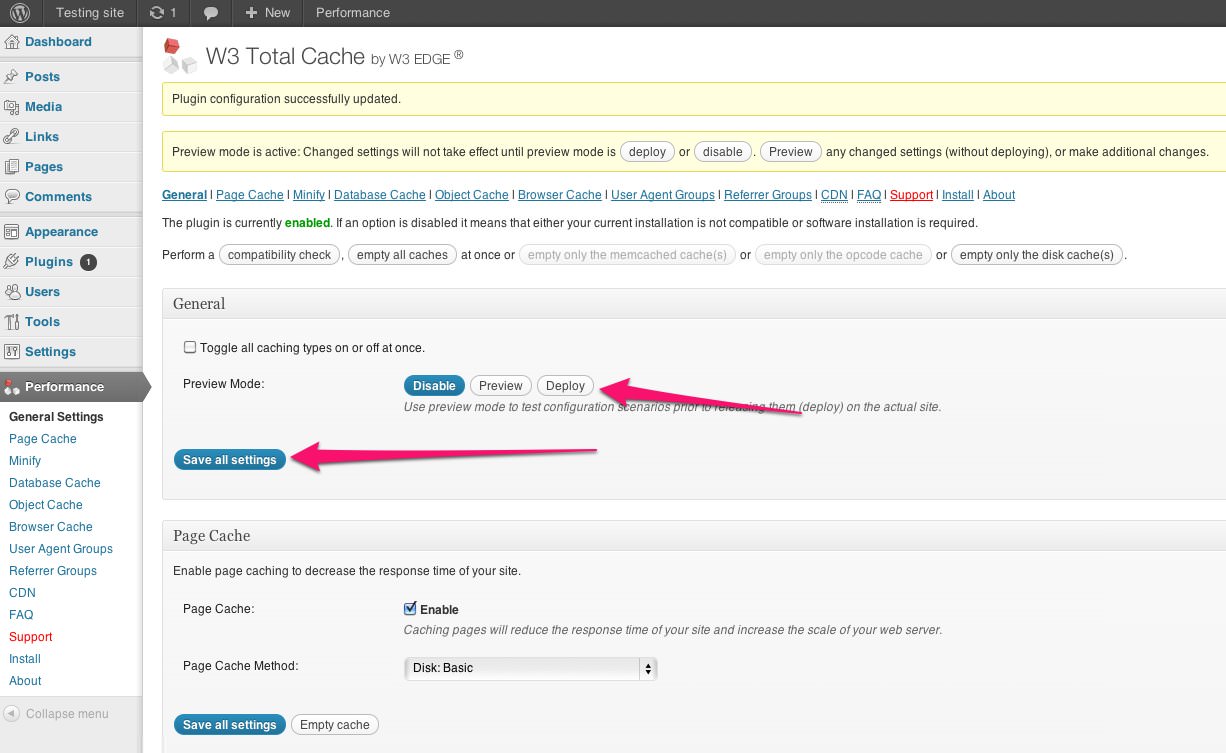
Click on Deploy and then on Save all Setting
Login to the Wordpress Admin Area.
Browse to the Plugins section and click on Add New.
Click on Active
Once the static files are replicated to the CDN, browse your website and right click on the page. Select "Inspect" or "View Source".
If the configuration is successful, the URLs that looked like this:

will now look like this:
