Here is the procedure to configure the most popular email clients using all the features provided by your cPanel control panel.
Mozilla Thunderbird
To configure your Keliweb email account on the Mozilla Thunderbird client, enter your email address and password. Thanks to cPanel, the client will automatically retrieve the parameters required for the correct configuration.
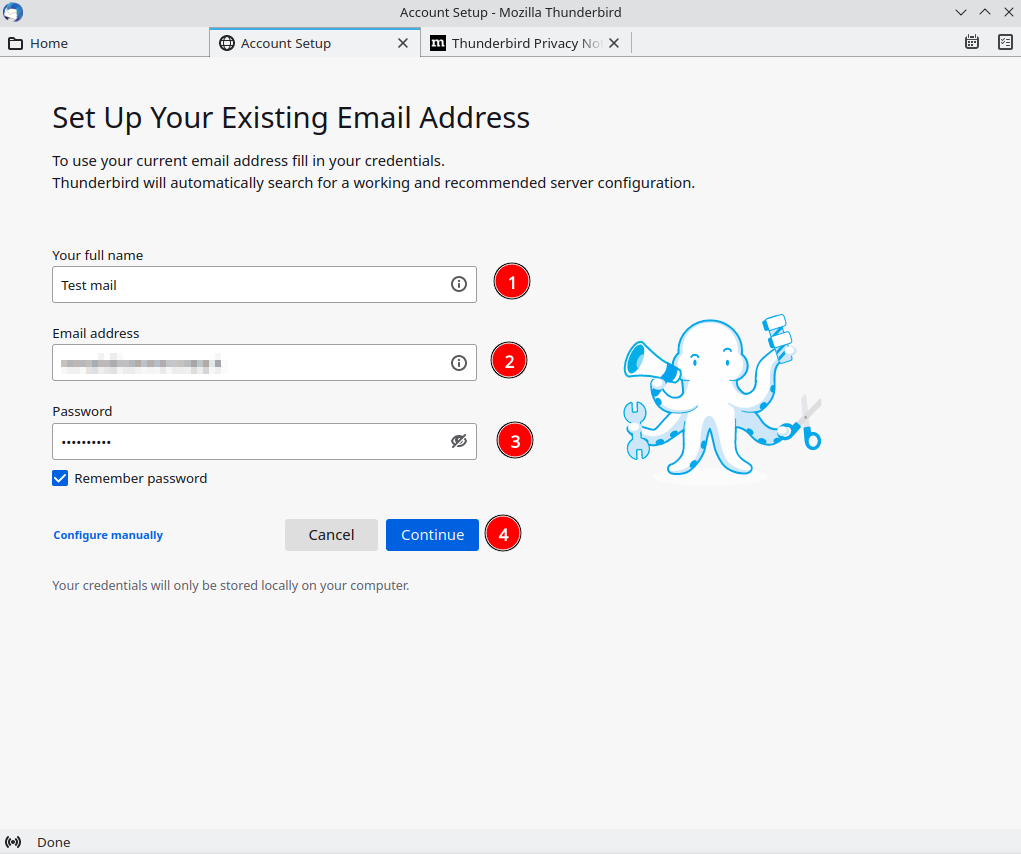
Add your Name and Surname, the email address created within cPanel and password. Then click "Continue".
If the credentials are correct, the client will independently retrieve the correct server parameters. The success of the operation will be highlighted with a green banner, as shown in the figure.
Just click "Done" button to complete the procedure.

The client is ready for sending and receiving emails.
Microsoft Outlook
The configuration of the Microsoft client will be imported automatically by the client, simply by entering the required parameters. In the account setup, enter the required data, as shown in the figure. Then click "Next".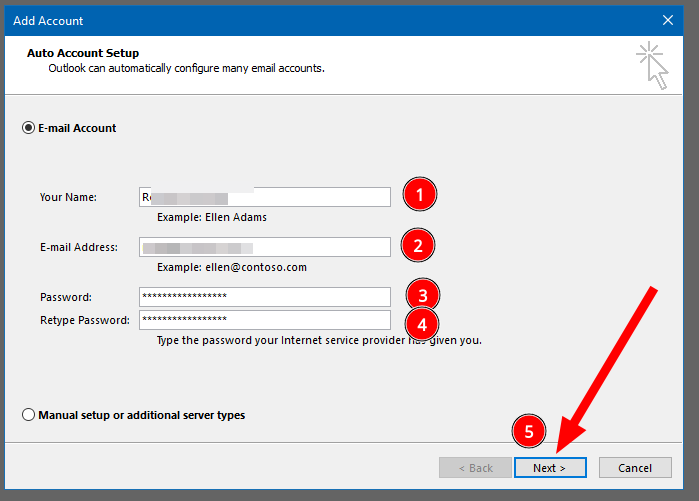
Once the correctness of the data is verified, the client will retrieve the necessary parameters from the server. Confirmation will be requested to integrate the configuration. At this point, just click "Allow" and then click "Finish".
The client will be ready to send and receive e-mails.
IOS Mail
To configure an email client on an Apple device, download the automatic configuration file for the Keliweb mail account.
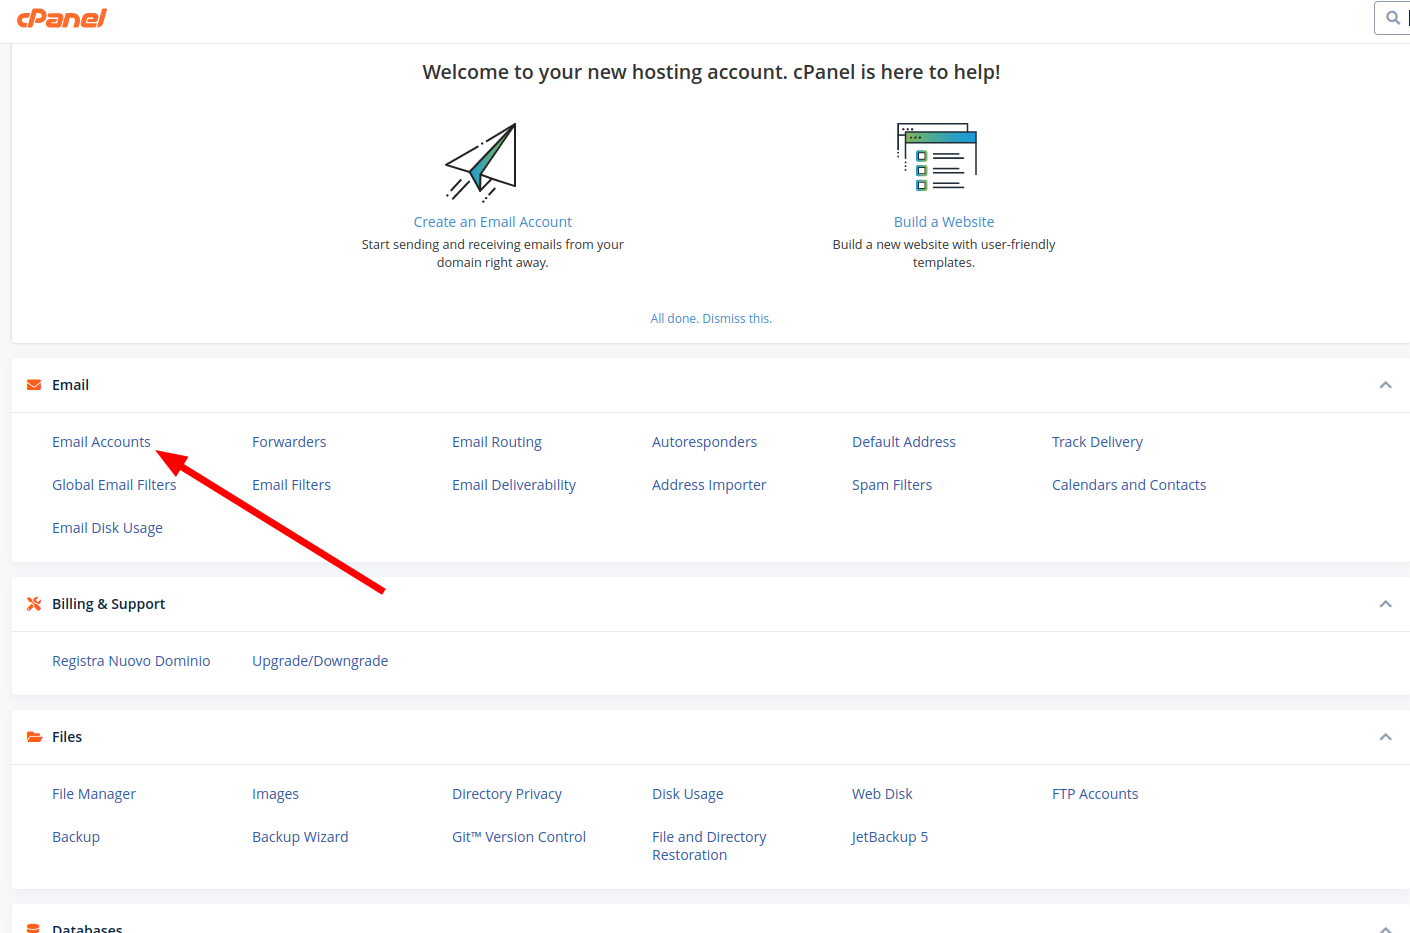
First log into cPanel and download the configuration file. Then click "Email account", in the Email section.
Locate the box to be configured and click "Check Email".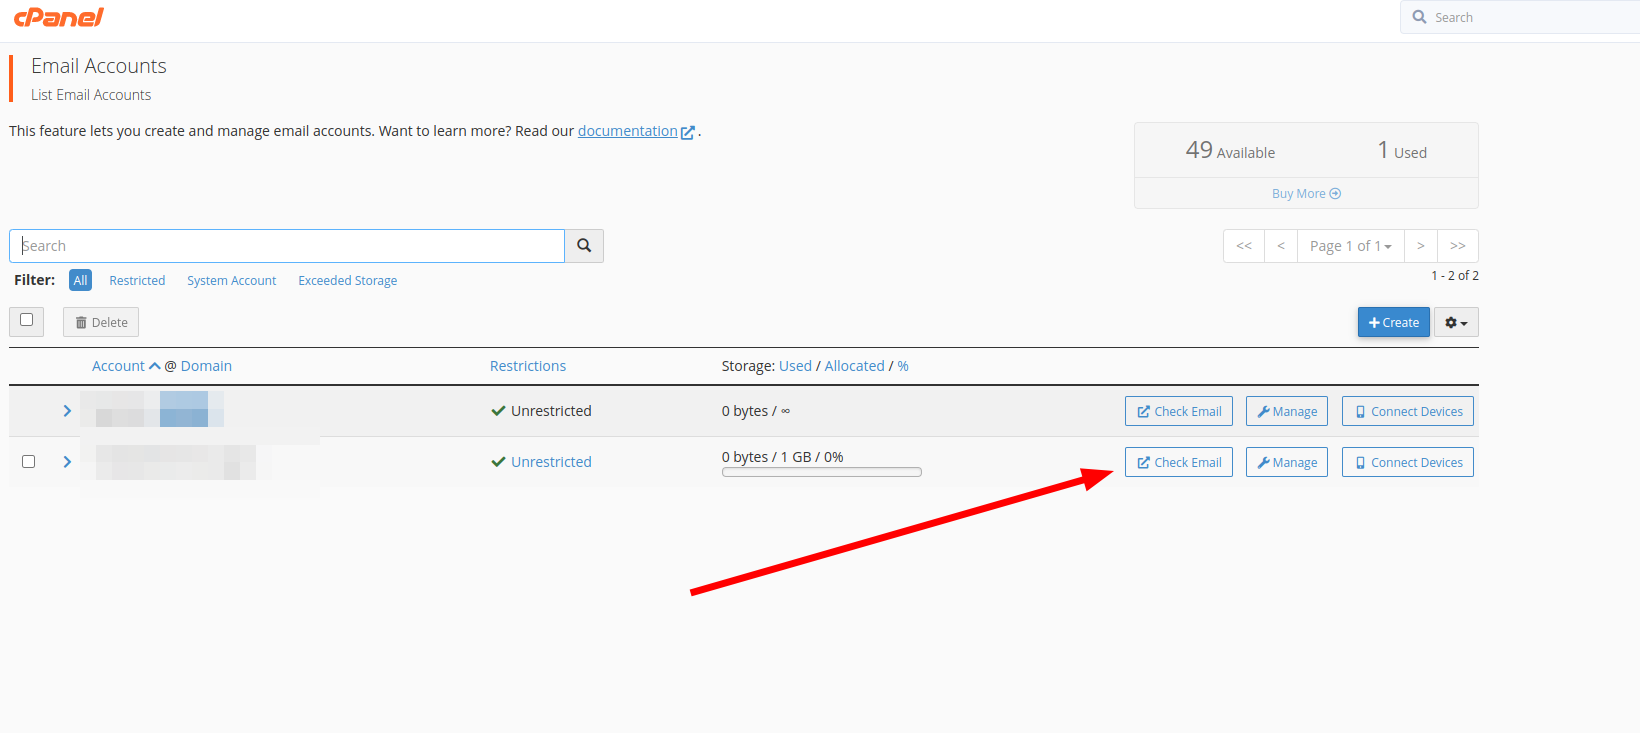
Next scroll down and click “Configure Mail Client”.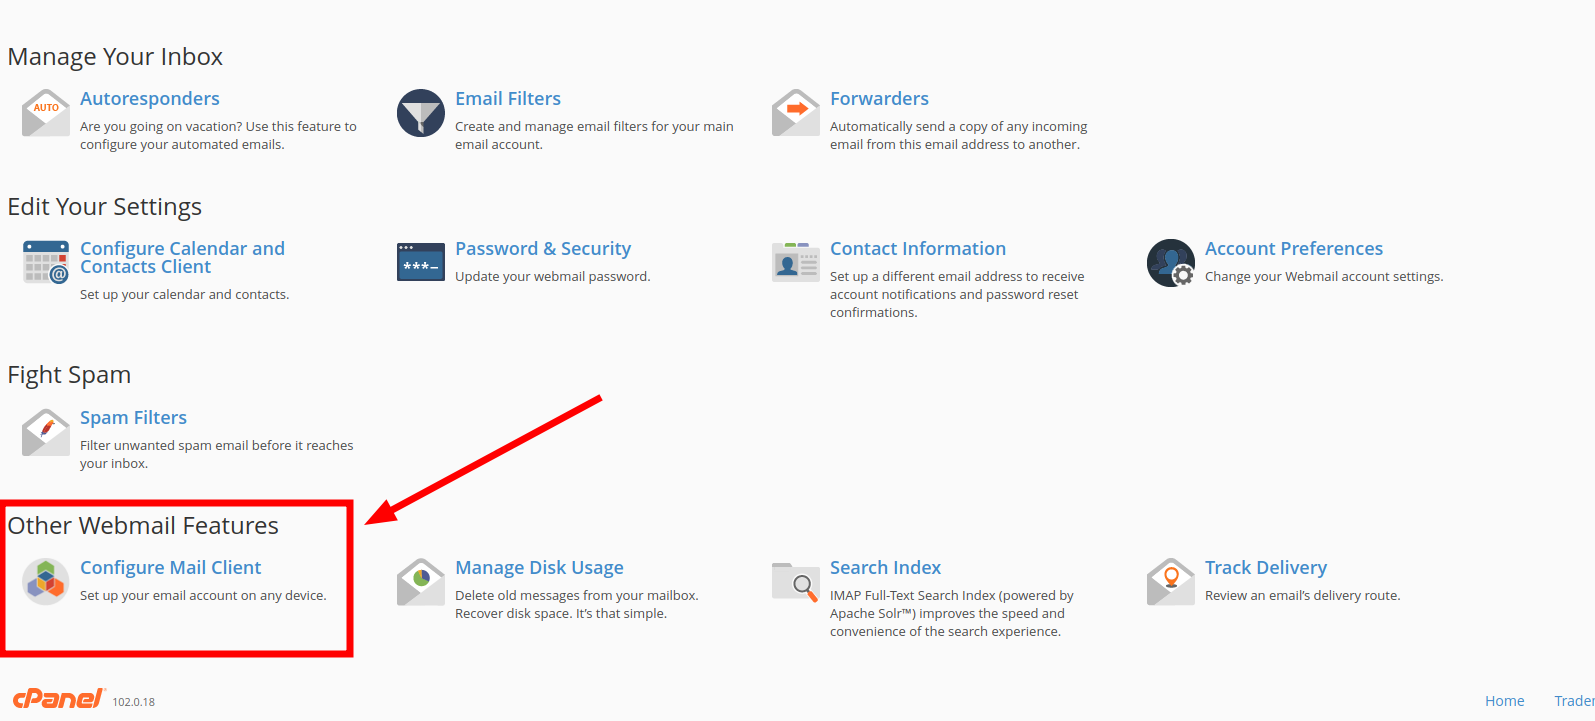
In correspondence with the description of the client to be configured, click on the “IMAP over SSL / TLS” link.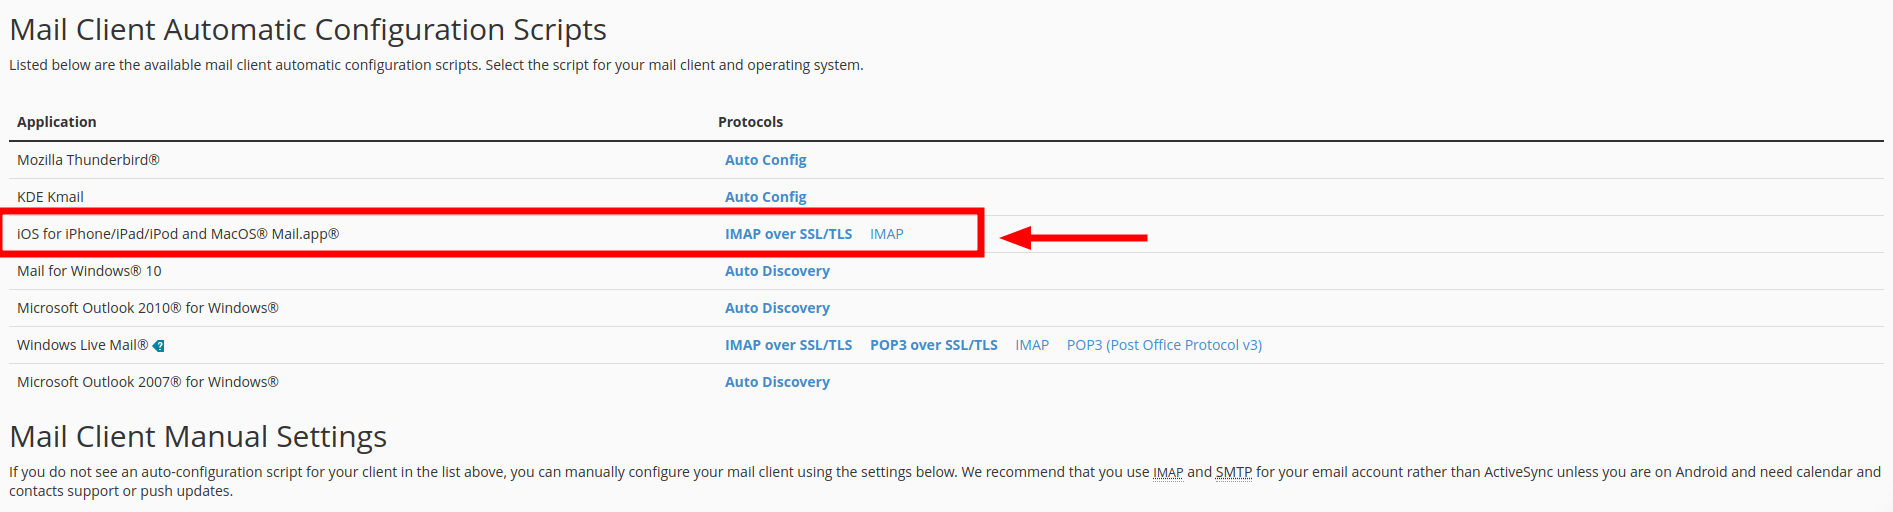
A window will open with brief instructions. Here click "Proceed" to be able to download the configuration file.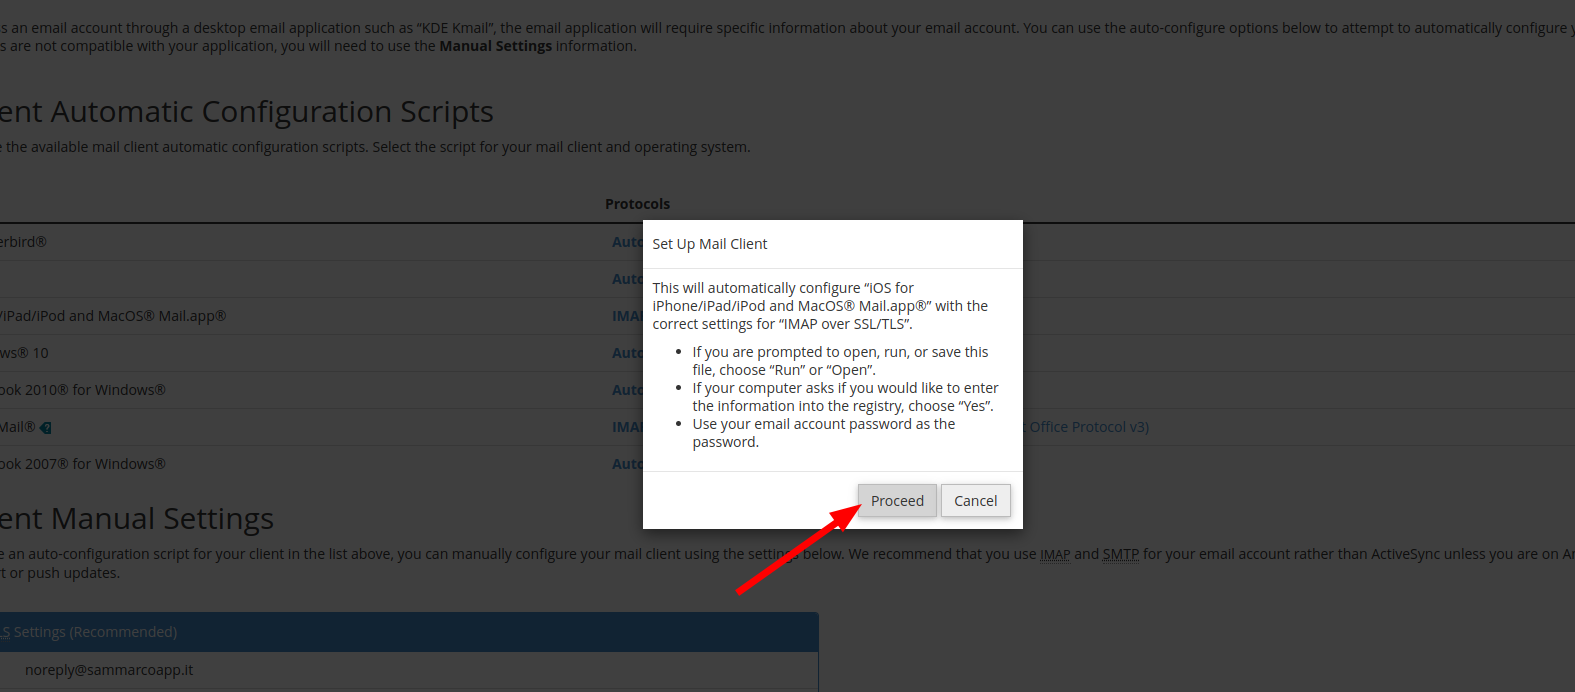
On your iPhone, after downloading the profile, in the "Settings" section you'll see "Profile downloaded". Click “Profile downloaded” to proceed with the configuration.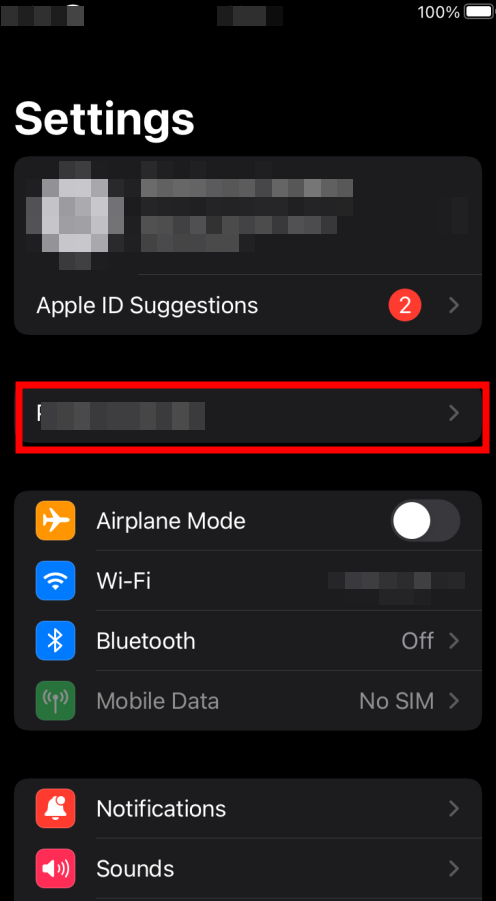
Click "Install" to proceed with the installation of the profile.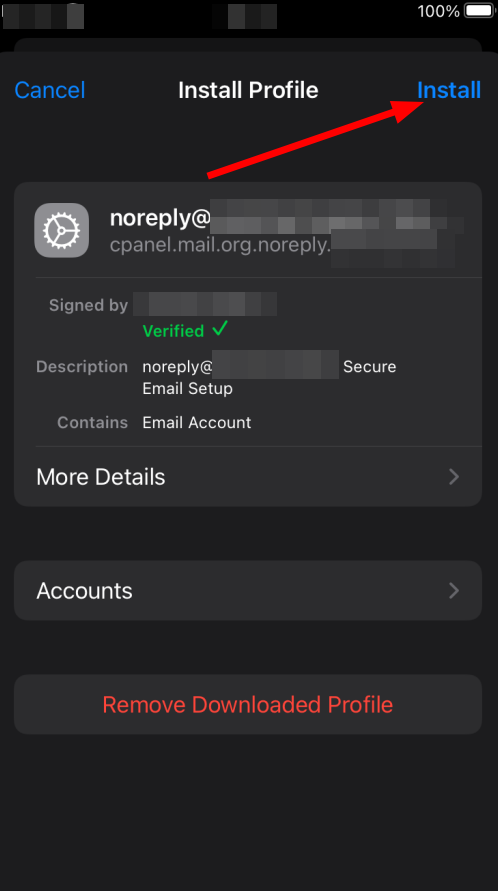
You will be asked to enter the password for the email address to be configured and click "Next" after entering the correct password.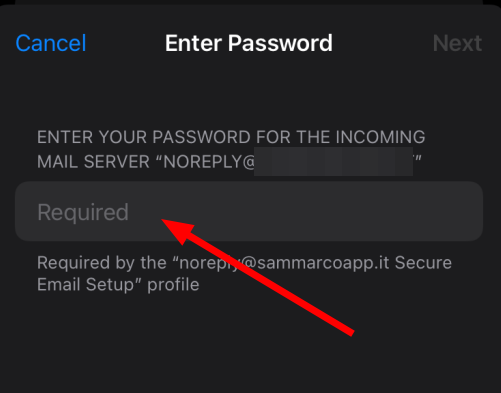
A summary screen will then be shown to confirm that the profile has been installed. Click "Finish" to complete the operation. The client will be ready for use.
In case of using a device with MacOS system, select the apple symbol in the menu at the top and click on System Preferences. Then click “Profiles” and proceed with the same configuration procedure.