If you are running an online store with WooCommerce and need to add Terms and Conditions, you’re in the right place. With iubenda’s solutions, you can complete the process quickly and easily, choosing from different methods.
First of all, log into your iubenda dashboard and, in the Terms and Conditions section, click on Integrate.
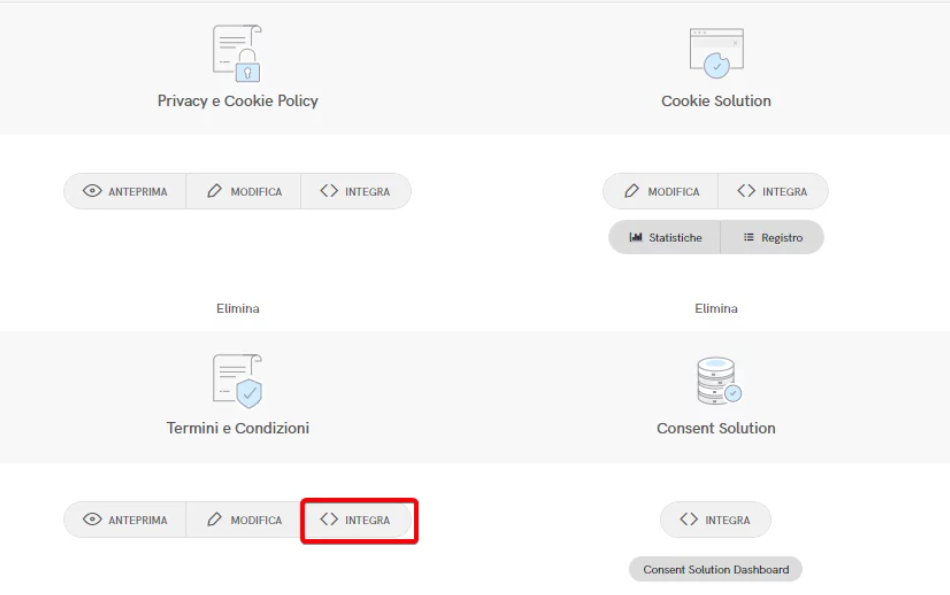
Method 1: add Terms and Conditions
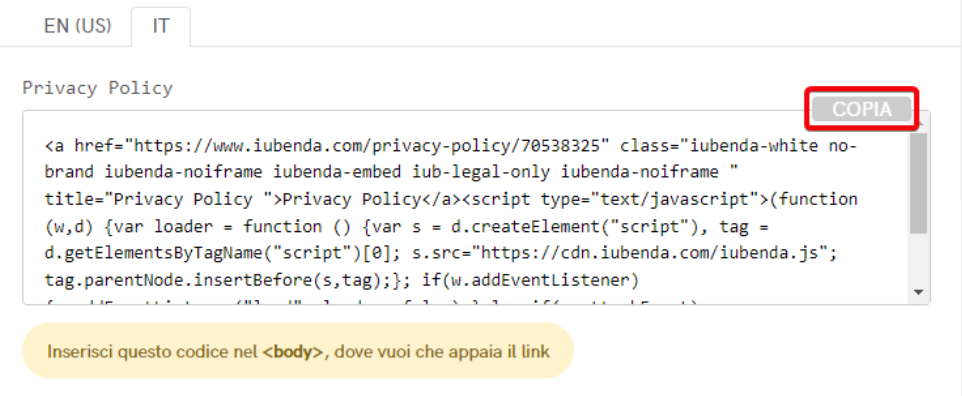
The standard widget integration method involves opening a modal window within the site footer. To implement it, select the Add a widget to the footer option, go to the Terms and Conditions section, and click Copy to obtain the integration code.
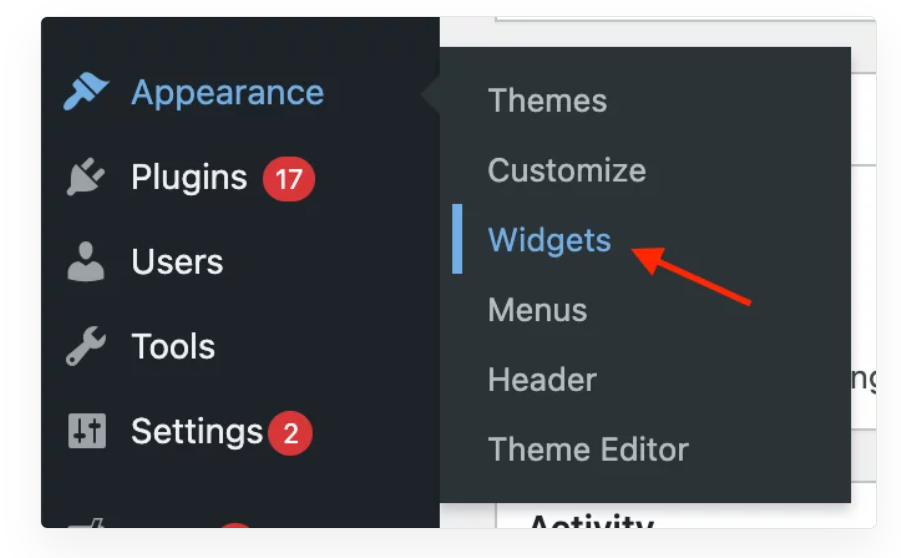
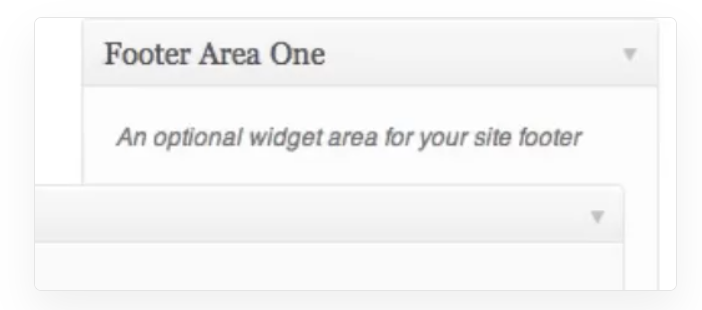
After copying the content, access the WooCommerce admin panel and navigate to Appearance > Widgets > Footer to proceed with the configuration.
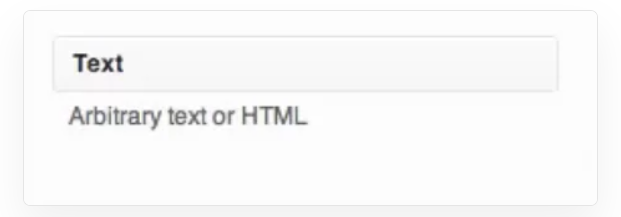
At this point, drag the text into the footer area.
Drag the section here.
Method 2: Direct Link to Add Terms and Conditions
To insert the direct link, select the Use Direct Link option, go to the Terms and Conditions section, and copy the provided link.

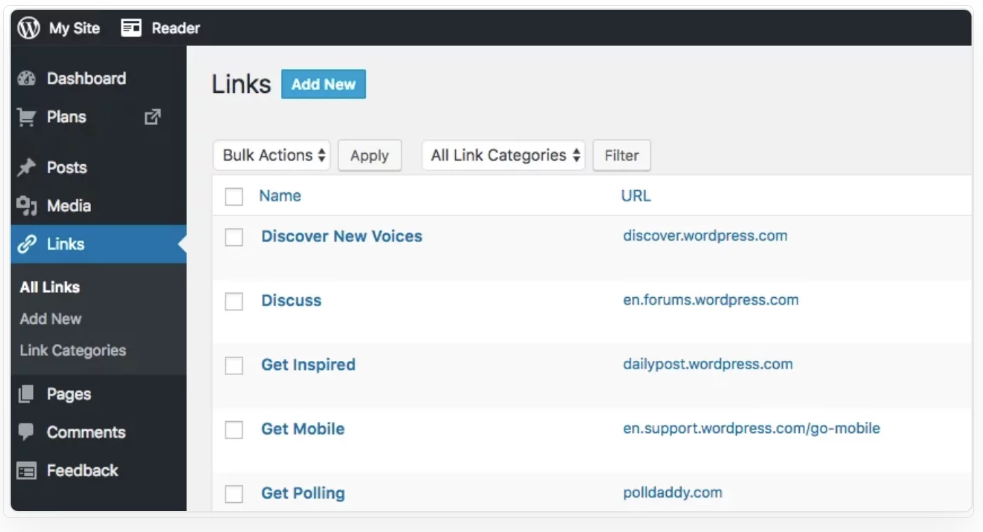
To integrate iubenda Terms and Conditions into WooCommerce, we will use Link-type widgets. These widgets can be placed in any section of the active theme, allowing you to direct users to any desired destination.
In the sidebar, select Links and then click Add New.
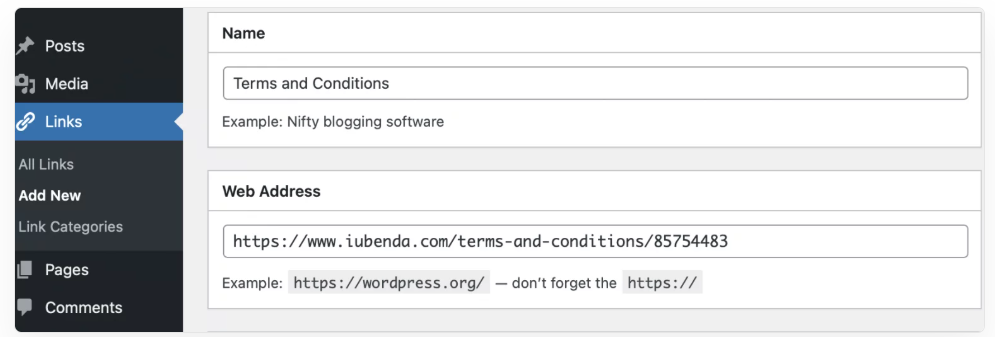
What to do next? First, name the document Terms and Conditions, then paste the link you previously generated in the iubenda dashboard into the Web Address field.
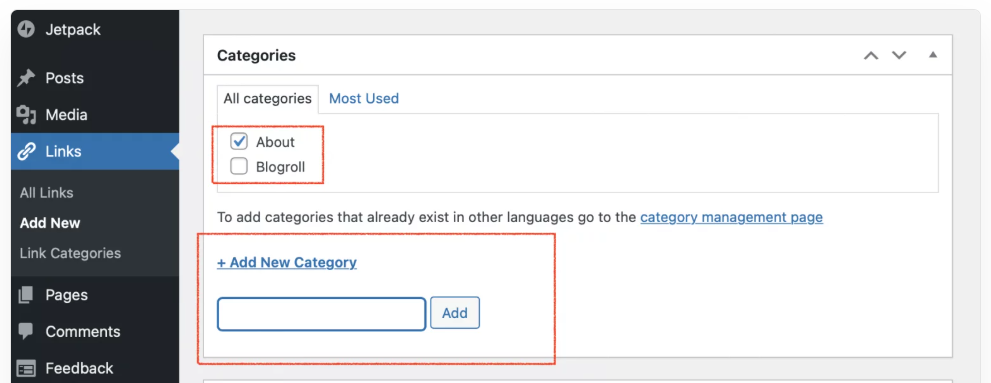
Create the About category, click Add Link, and add the link.
To add the Link widget to the site footer, follow these steps:
-
Access the admin panel and go to Appearance > Widgets.
-
On the Widgets page, locate the footer area.
-
Drag the Link widget to the desired position within the footer area.
-
Select the category associated with the Terms and Conditions link (for example, the About category).
-
Click Save to apply the changes.
At this point, the link will be correctly inserted into the site footer.

The direct text inclusion option allows you to integrate the Terms and Conditions document directly into the website, giving it a seamless appearance with the rest of the content.
To implement this configuration on WooCommerce, you need to create a new dedicated page, paste the corresponding code, and publish the content. The text will be inserted directly into the page body, ensuring perfect integration with the site interface.

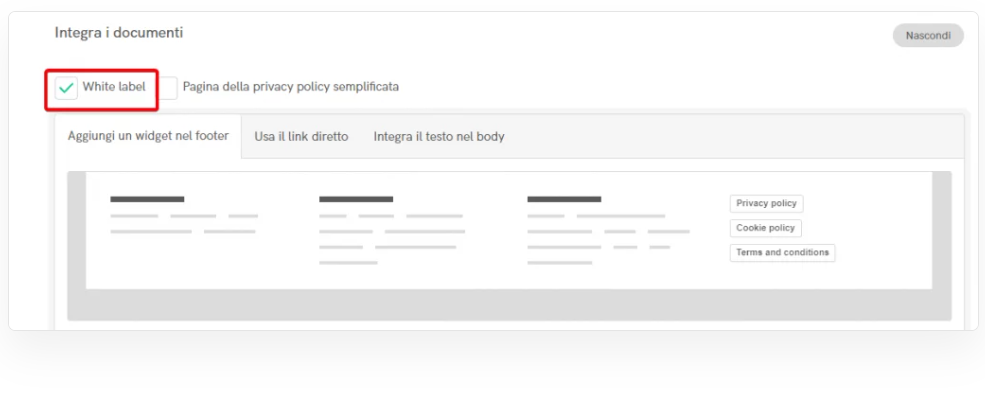
If the code is copied directly, the document will retain the default iubenda style, including fonts and formatting. To apply your own site’s style, you need to select the White Label option.
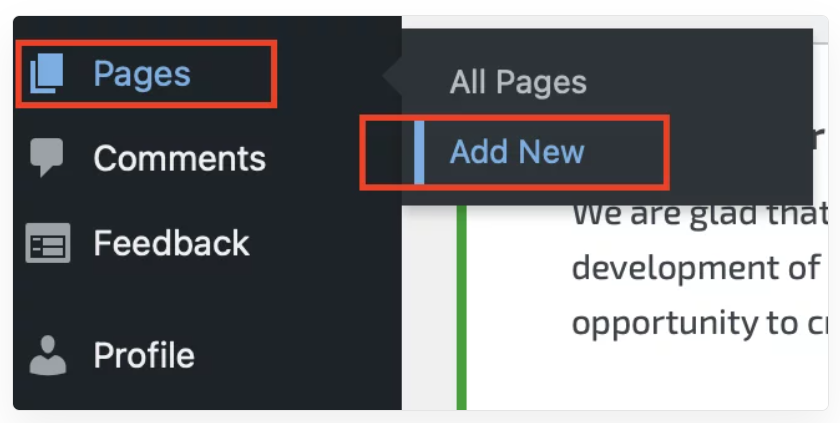
At this point, go to the WooCommerce admin panel, navigate to the Pages section, and click Add New.
Embed the code into the page body using a text editor or Custom HTML. Once done, the Terms and Conditions will be added to your WooCommerce store.
Discover Keliweb services ideal for creating online stores with WooCommerce: